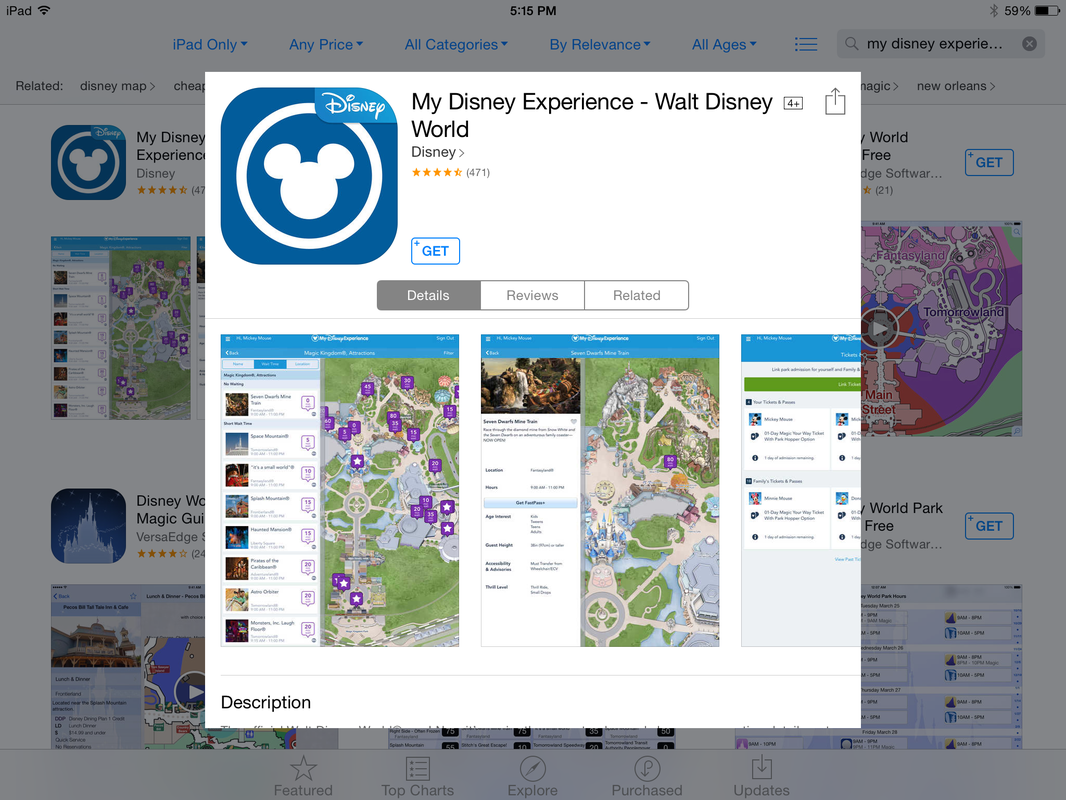
 | In today's Tech Tidbits Tuesday, I want to introduce you to an app you just have to download before you go to Disney World--My Disney Experience. But if you happen to already be at the park, don't fret, download it now, it's THE must-have app as you travel throughout Walt Disney World! I mentioned it in my post Last Minute Travel Tips for Disney World yesterday, and I urge you to use it before your next visit, especially for Fast Passes. |
| Since my daughter has an annual pass to the parks, she already had the app on her phone. I downloaded the app on my iPad today, just for the purpose of demonstrating some of the features for you. After you download and open the app from the App Store, you'll be directed to the Home Page. Now, this app has all kinds of information about the parks--opening hours, maps, wait times, and dining information, including the ability to make reservations, but today I just want to talk about Fast Passes. | 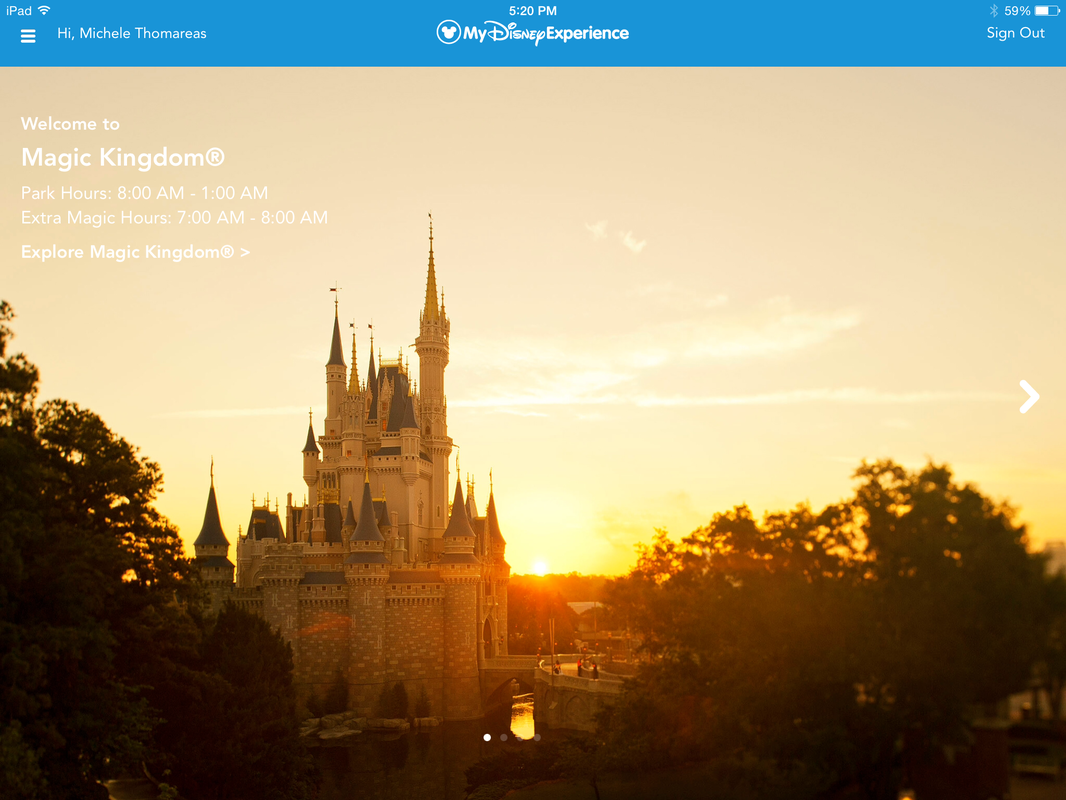 |
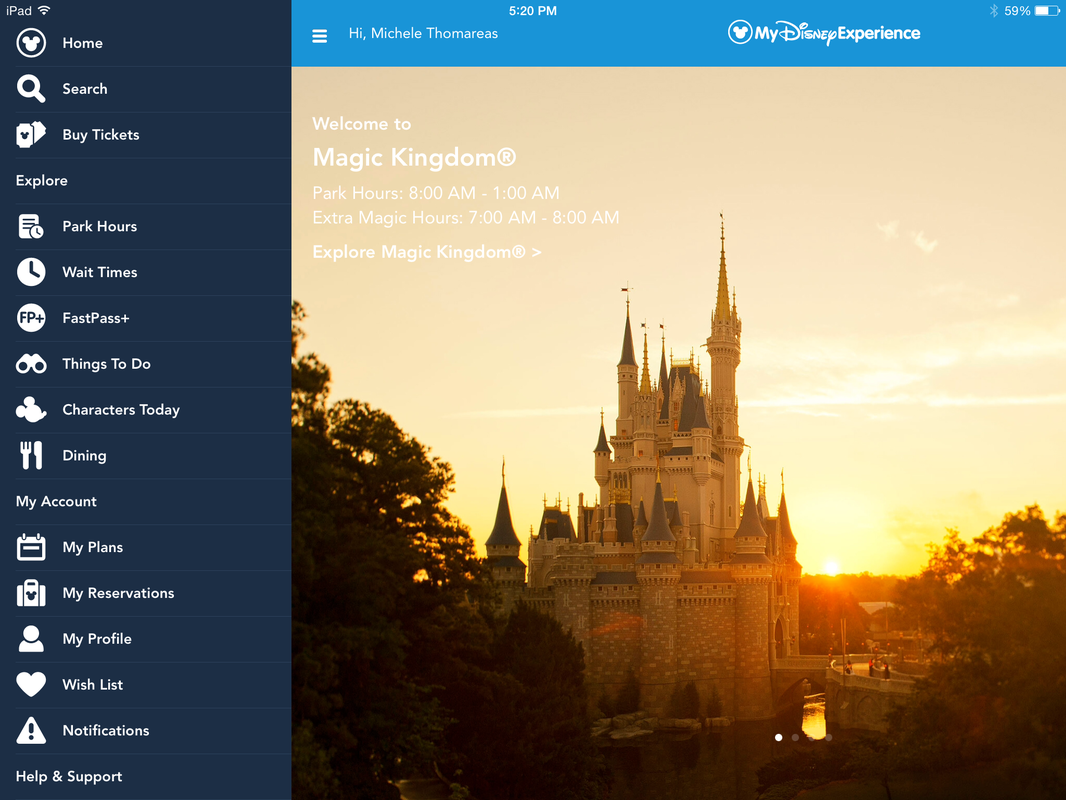 The FastPass+ screen will appear, and first you'll want to Choose New FastPass+ Experiences. Later, as you visit the attractions, and want to get more Fast Passes, or switch to a different park, and desire Fast Passes for that park, you'll click on Modify My Existing FastPass+ Selections. Now, because I'm not actually going to visit a park today, or anytime in the near future, my demonstration will be a little incomplete after this point. Sorry! 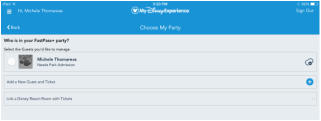 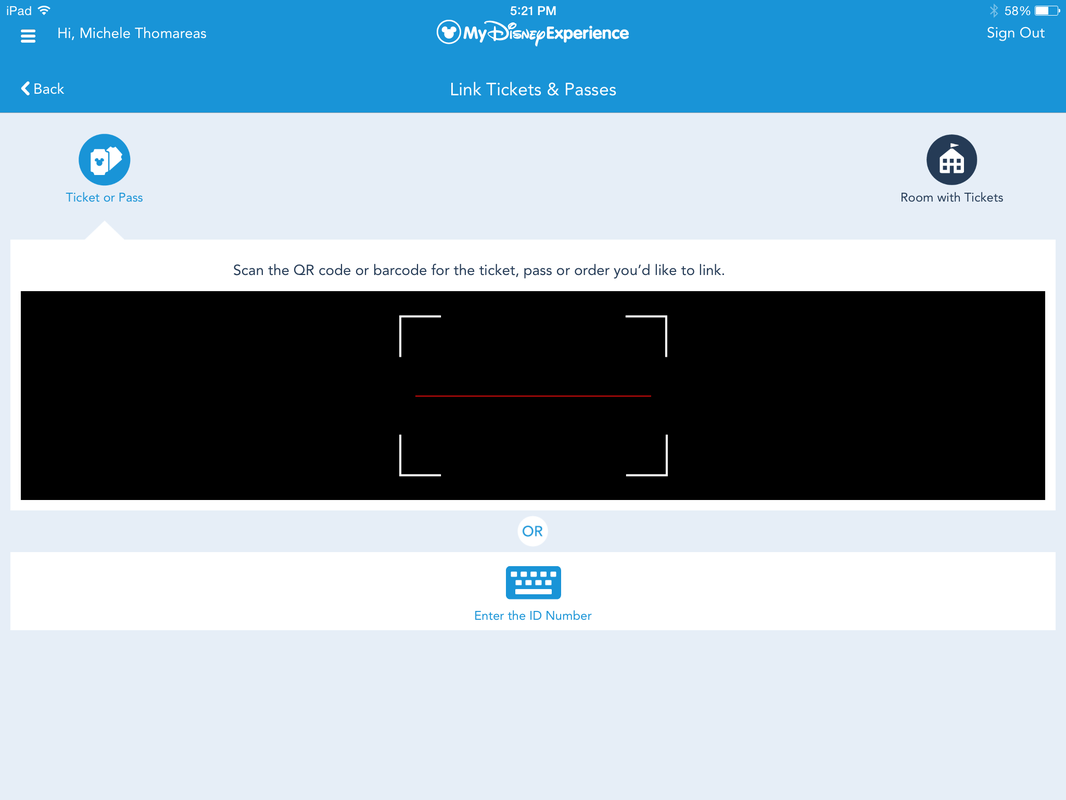 After you pick which guests are going to be at the park (hopefully you're not alone, but I did visit Disney's Hollywood Studios all by myself and had a marvelous time wandering and exploring), you'll be given a list of options to choose from, since maybe you were planning a big lunch for the early afternoon, and don't want your visit to a roller coaster to be scheduled immediately following! Once in the park, have your pass (or wristband--another cool feature) handy. | At the top left corner of the Home Page is a set of three parallel horizontal lines. Click on them, and you'll see a drop down menu of all of your choices. It's really fun to explore, and my daughter and I used the app when in the parks for a variety of its other features, but today, we want you to avoid those long queues as much as possible, so I'm just going to discuss Fast Passes. In the middle of the list is FastPass+. Let's click on that. 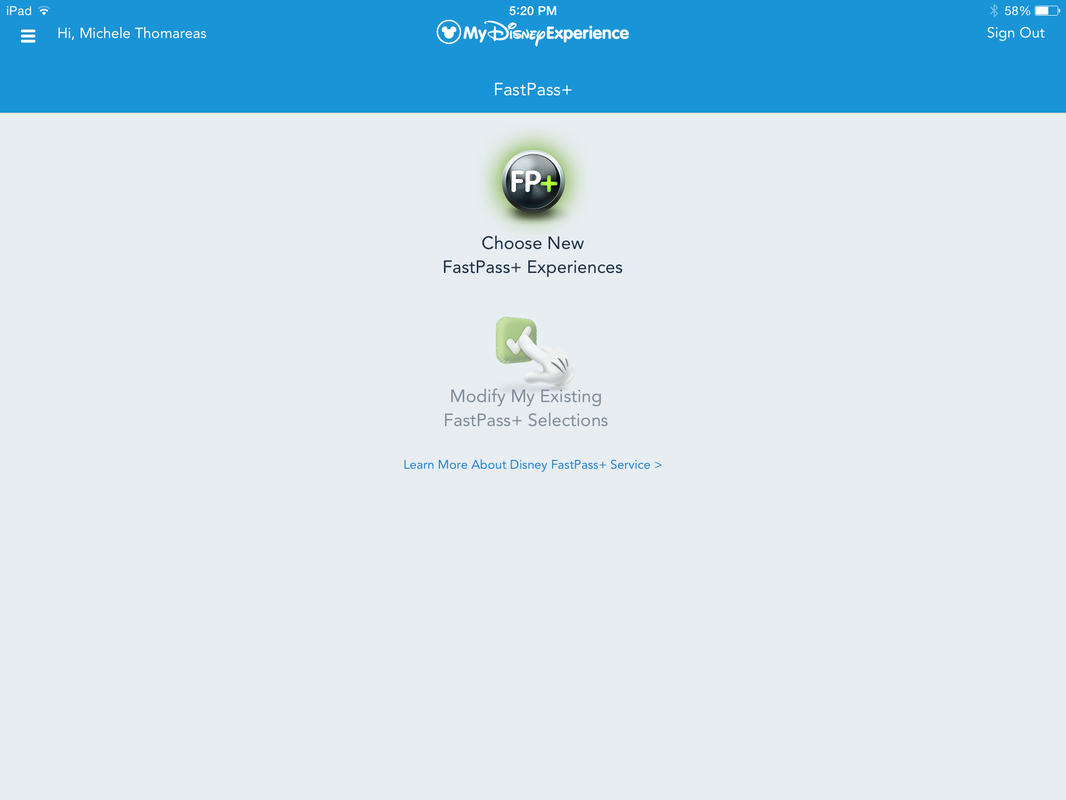 When you click on the first button, you'll be instructed to Select and Add Guests. This is the really fun part, since each pass has a code on the back that you can scan (very easy), or you can just type in the number. 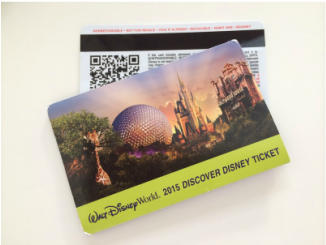 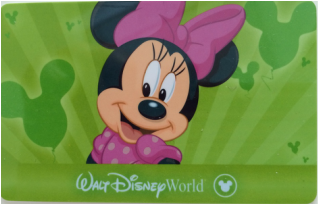 |
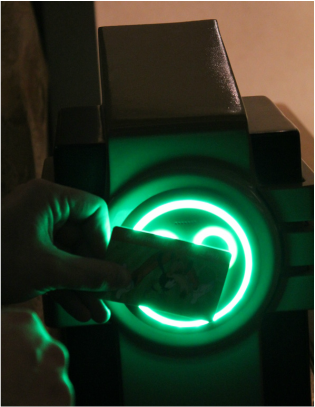 | When you get to the attraction, there will be two lines, one for FastPass+, and another called Stand By (since you'll be standing longer in this one)! If you have a Fast Pass, take out your pass/ticket and scan it at one of the machines located on either side of the entrance during your designated time window. Hold it there until the light turns green, and then continue to walk through the designated queue for FastPass+ holders. Keep your pass handy, because on most attractions, you'll need to scan the pass again. I learned to keep it in a pocket on my capris that buttoned for easy access. I was behind quite a few people who had to dig for their pass, both at the first scan, and again at the second. Be ready! Especially since you may be fumbling in dimly lit places, like here at the Haunted Mansion (below)! |

I highly recommend that for some of the newer and/or more popular attractions, like the Seven Dwarfs Mine Train in Magic Kingdom, or Soarin' in Epcot, that you make arrangements for FastPass+ before the day of your visit. Unfortunately, we were unable to visit either of these, since we weren't able to obtain Fast Passes, and the Stand By time was just too long; there's always a next time!
Remember, this is THE must-have app for Disney World; download it and start exploring!
Remember, this is THE must-have app for Disney World; download it and start exploring!
 RSS Feed
